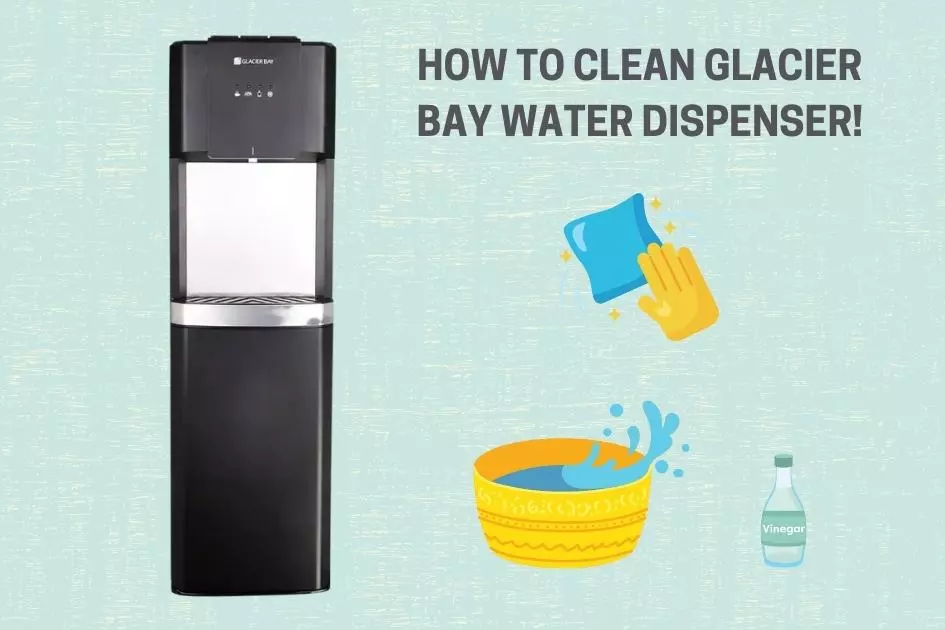
Glacier Bay water dispensers are great with their bottom loading or top loading design, but they can get a little gunky after a while. Not specific to the brand, but water dispensers in general have a tendency to get a bit funky over time—particularly the spigot, which gets gunked up with mineral deposits. If you also notice that the water tastes funny or smells different, it's probably time to clean it out.
We'll get to the periodical cleaning which is good to do on a 4 month basis, but first thing is first, we have the initial sanitizing just before using it for the first time.
Why Need to Clean Before Use
The water dispenser is brand new, but it's not clean. It comes from the factory with a layer of dust and other particles on it (not to mention all the packaging materials). You don't want to use that in your home! So, as soon as you get it out of the box, you should give it a quick cleaning. It's also good to do this before you put any new water in the dispenser, since that can get contaminated by dust and other particles as well.
Initial Product Cleaning Procedure
If you have a Glacier Bay water dispenser, here's what you need to do:
- Unplug your dispenser from the wall for safety and convenience.
- Remove the bottle support collar and clean the reservoir with a cloth soaked in water dispenser cleaner or vinegar.
- Pour 4 cups of vinegar with 4 cups of hot water into the reservoir and let it sit for 20 minutes. You'll have 2 liters of vinegar/water mixture.
- After 20 minutes, as if you are dispensing water, press the button and let the vinegar mixture flow through the dispenser.
- Uninstall the drain valve plug and rinse out the reservoir and bottle support collar with warm water. Drain the reservoir so that you have no water left in it.
- Then reattach the drain valve and botte support collar to your dispenser. You can then fill up the reservoir with clean water again, let it sit for a few hours before using.
Cleaning the Exterior of the Water Dispenser
After the initial cleaning, you could give it a go and enjoyed the clean water from your dispenser. But as time goes by, you'll notice that the exterior of your dispenser is starting to look dirty and grimy. You can spray the outside of the dispenser with a mild soap solution and wipe it down with a clean cloth. This will remove any residue that may accumulate on the outside over time.

Cleaning the Drip Tray
The drip tray is the part of your water dispenser that catches any drips from the faucet. If you don't clean it often, these drips can build up and cause mold and mildew to grow. This can lead to bad odors and an unpleasant taste in your drinking water. To clean the drip tray, simply remove it from your dispenser and place it in a sink filled with hot soapy water. Scrub gently with a sponge or scrubber until all dirt and grime is removed.
Draining the Reservoirs
Reservoirs are the containers that hold your drinking and cooking water until it is needed by your faucet. It's important to drain these containers when you don't plan on using them for a long period of time. This will prevent mold and mildew from growing inside the reservoir, which can contaminate your water supply when you next use it.
To drain the reservoirs on your water dispenser, simply turn off the power to your appliance and open the door to each reservoir by turning its valve counterclockwise until no more water comes out. You can just use a bucket to catch the water as it drains. Once all of the water has drained out, turn the valve clockwise to close it and then use a cloth or paper towel to dry off any moisture that remains inside.
Regular Cleaning of the Interior
If you've been using your dispenser for a while and notice that the water tastes funny or smells different, it's probably time to clean it out.
This is not different from the initial sanitation process we mentioned on top. This time we are just interested in the inside of the dispenser. Fill the reservoir with warm water/vinegar mixture again or you can just leverage a water dispenser cleaner. Then, take the time for 20 minutes and turn on the faucet to allow water to flow into it. Let it run for about 5 minutes until you see that most of the cleaning mixture has been dissolved away by this process. Now, turn off the faucet and let all of the remaining water drain out into a pail or bucket.
We recommend you to fill the reservoir with water again and dispense it until you are sure that all of the cleaning water in there has been drained out. So now you are ready to put a new 5 gallon bottle into the dispenser again and enjoy the fresh and clean taste of your water bottle.
Bottom Loading vs Top Loading Water Dispensers
As you already encounter in the above, Glacer Bay offers water dispensers in each of these styles. Bottom loading water dispensers are newer than top loading models but have been gaining popularity over time. However, both have their own benefits, but there are some differences you should know about before deciding which type you need.
The main difference between a bottom loading water dispenser and a top loading water dispenser is how you place your water bottle. A bottom loading water dispenser requires you to place the bottle on the bottom of the dispenser, while a top loading water dispenser has a space for you to put in your bottle.
There are also differences in terms of outer design. Bottom loading water dispensers tend to be more compact and can fit in tight spaces, while top loading water dispensers may be taller and take up more space. The design also affects how easy it is to fill up your bottle. Bottom loading dispensers are often easier to fill because they have less room for air in their design than top loading models do.
A lot of people like bottom loading because it's convenient and allows them to keep their kitchen countertops clean. However, if you have young kids or pets who might pull bottles out by accident and spill water everywhere, a top-loading dispenser might be better for you.
Conclusion
Although the internal workings of a Glacier Bay top and bottom loading water dispenser are different from each other, cleaning and care for both types is done in much the same way. The only difference is that you will have to remove the top cover of a top-loading dispenser before cleaning it. Other than that, you can use the same steps for cleaning and caring for both types of water coolers. If you follow these simple steps mentioned above, you can keep both your water dispenser in good working order for years to come.

